Airbrush Blog
Tips, trends and tutorials to enhance your online presence and take your editing skills to the next level.
Photo Editing
View all
Video Editing
View all
Improve Social Media Presence Using Enhance Video Quality Tools
Enhance Your Marketing Strategy with High Video Resolution

Upscale Video Resolution Without Losing Quality

Level up your Brand in 2023 with Engaging Video Content

7 Video Content Ideas to Improve your Video Marketing

How to Enhance Your Business’s Social Media Presence with Airbrush Video
Tutorials
View all
Marketing
View all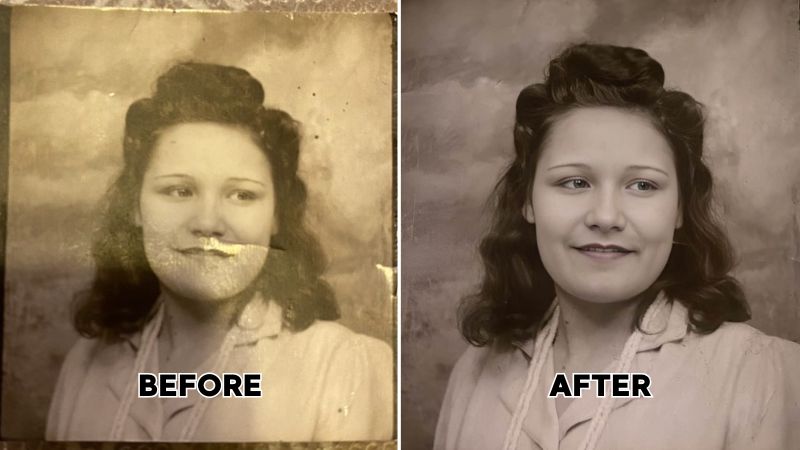
How a WWII Love Story Was Saved with Airbrush Photo Restoration

Introducing Airbrush Recap 2023: A celebration of your creativity

Say Goodbye to Boring Selfies: How the AI Avatar Generator Function in Airbrush Studio Can Help You Stand Out

Airbrush Studio: Why It’s Worth Investing in

Top 10 AI Portrait Generators of 2023: Discover the Best AI Image Creation Tools

5 Meaningful Ways to Celebrate International Women’s Day
Features & Tools
AI Powered RetouchEraserBackground RemoveNo Beard FilterFace EditorAI MakeupPhoto FiltersPhoto Color ChangerAll ToolsDownload
Support
Features & Tools
Download
Support
GET IT ON
App StoreGET IT ON
Google Play