


AirBrush Blog
Tips, trends and tutorials to enhance your online presence and take your editing skills to the next level.
Photo Editing
View all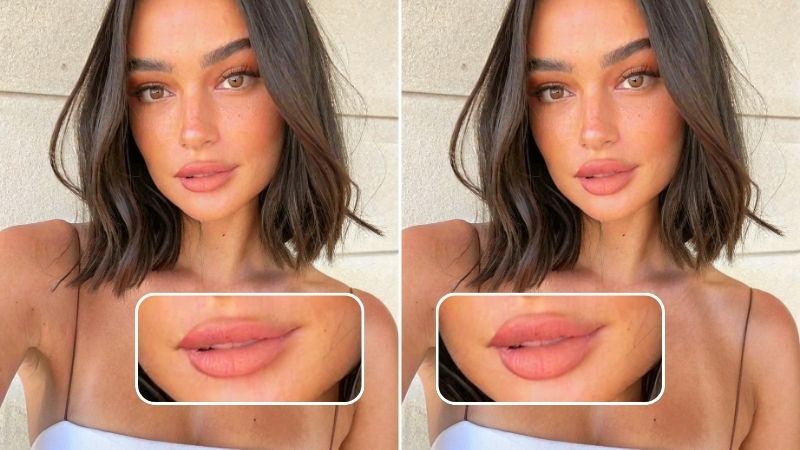
Find Out What Lip Shape Suits You? Use A Lip Filler Simulator
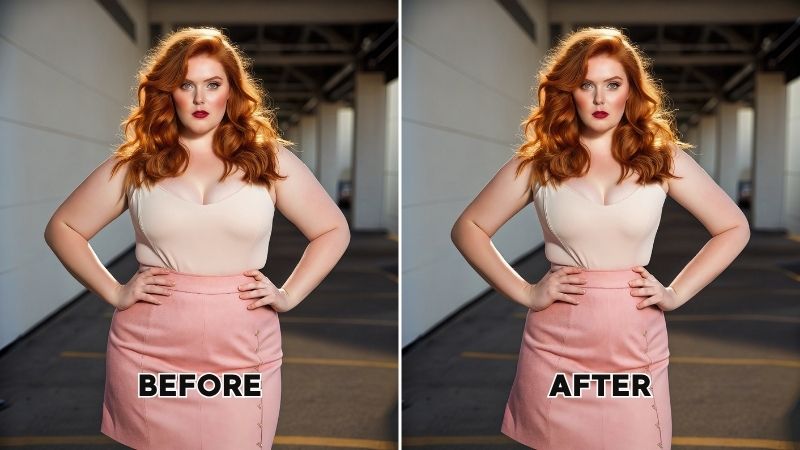
How to Use a Weight Loss Simulator App and Online Tool for Free
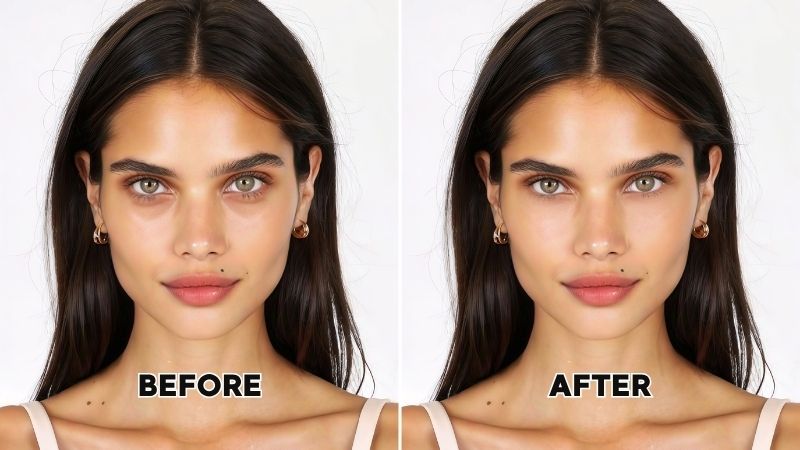
How to Remove Eye Bags Fast: Natural Remedies and Photo Editing Tips
Celebrity Look Alike Face in Photos: Step-By-Step Guide
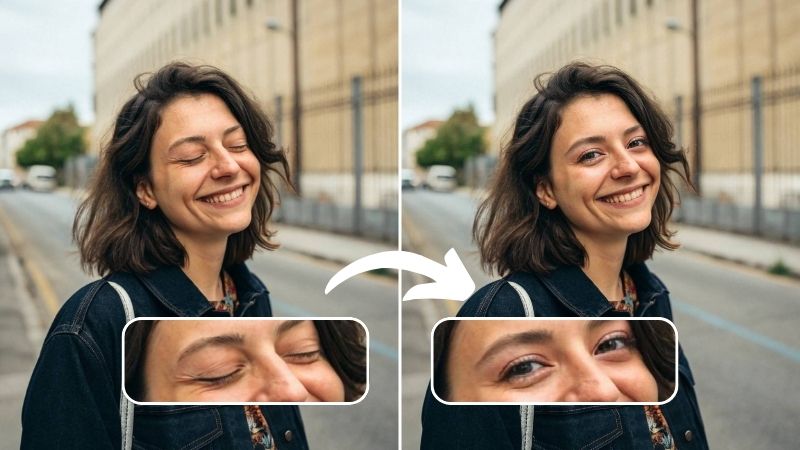
Open Closed Eyes in Photos with Magic AI Tools For Free

Best Hairstyles for Women: Top Trends to Try in 2025
Video Editing
View all
Improve Social Media Presence Using Enhance Video Quality Tools
Enhance Your Marketing Strategy with High Video Resolution

Upscale Video Resolution Without Losing Quality

Level up your Brand in 2023 with Engaging Video Content

7 Video Content Ideas to Improve your Video Marketing

How to Enhance Your Business’s Social Media Presence with AirBrush Video
Tutorials
View all


Marketing
View all
Introducing AirBrush Recap 2023: A celebration of your creativity

Say Goodbye to Boring Selfies: How the AI Avatar Generator Function in AirBrush Studio Can Help You Stand Out

AirBrush Studio: Why It’s Worth Investing in

Top 10 AI Portrait Generators of 2023: Discover the Best AI Image Creation Tools

5 Meaningful Ways to Celebrate International Women’s Day

Express your Love with these Easy-to-Use AirBrush Tools on Valentine’s Day


Features & Tools
AI Powered RetouchEraserBackground RemoveNo Beard FilterFace EditorAI MakeupPhoto FiltersPhoto Color ChangerMore
BlogHelp CenterVideo Tools
AI Video EnhancerVideo Watermark RemoverVideo Background RemoverAll ToolsImage Tools
Download
Features & Tools
Online Tools
Image EnhancerPhoto to AnimeImage Background RemoverAI Image ExtenderAI Object RemoverAI ReplacerAI Face SwapMultiple Face SwapImage Watermark RemoverPhoto RestorationPhoto To CartoonCollage MakerFace Shape DetectorPhoto to SketchCamera OnlineBackground ChangerAI Action Figure GeneratorBlur BackgroundAI Clothes ChangerImage UpscalerAI HairstyleAI FilterBody EditorAI Muscle GeneratorOpen Eyes in PhotoAll ToolsAI Video EnhancerVideo Watermark RemoverVideo Background RemoverAll ToolsMore
Legal

GET IT ON
App Store
GET IT ON
Google Play
