Today we are going to look into the Smooth effect included in the Airbrush app. This effect allows you to quickly smoothen your skin and gives a flawless look to every picture. The smooth effect comes with two-level of intensity; ‘light’ and ‘heavy’. To ensure precision in your editing, an adjustable size brush is also available. And if you made a mistake, there is an option to erase the smoothened areas.
How to use the Smooth Effect?
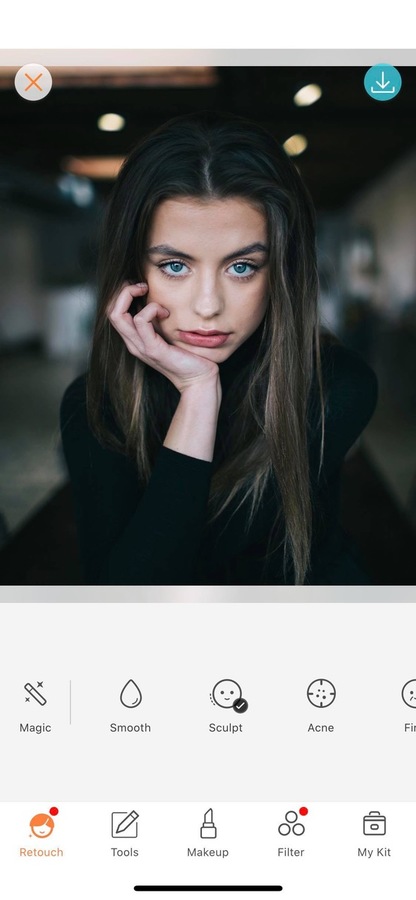
First, upload the photo you want to edit. Then in the Retouch menu, select the Smooth effect; this one is represented by a drop.
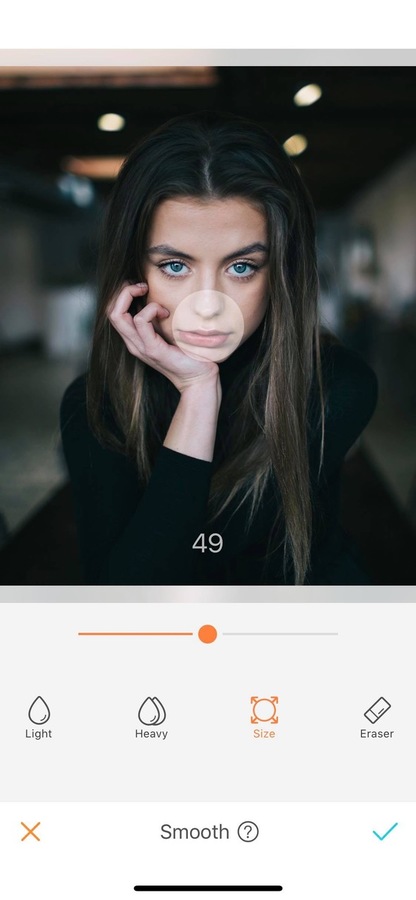
Adjustable Brush Size
Before getting started on your edit, you can adjust the size of the correcting brush you’ll be editing with. For this, select the “Size” icon and drag the dot on the slider to the right. The brush size ranges from 0 to 100.
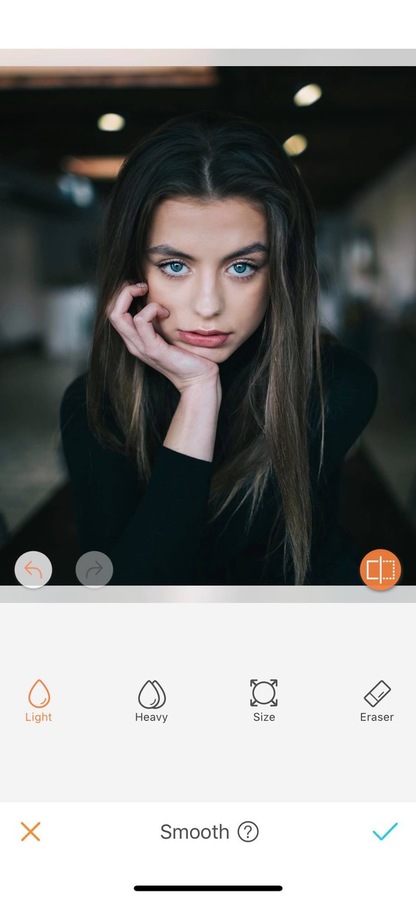
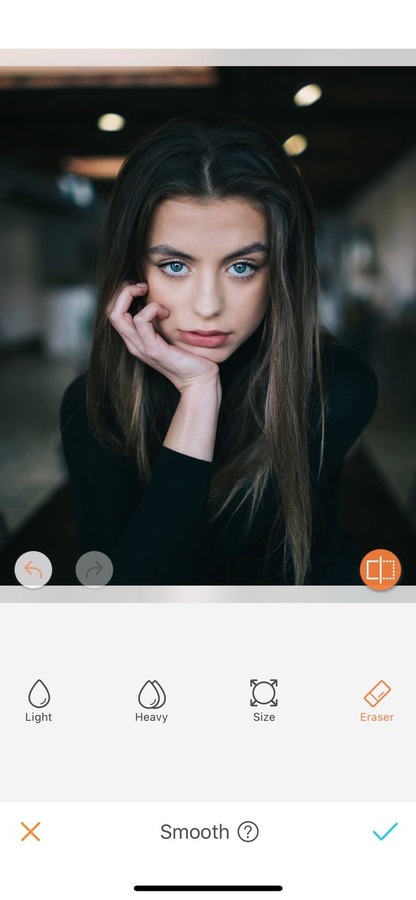
Two Levels of Intensity
The smooth effect comes with two levels of intensity; ‘Light’ and ‘Heavy’. The light version offers a subtle smoothing effect ideal for small imperfections. For a stronger smoothing effect, select the heavy intensity. After selecting your level of intensity, zoom in as much as needed, and swipe your fingers on the area you want to smoothen.

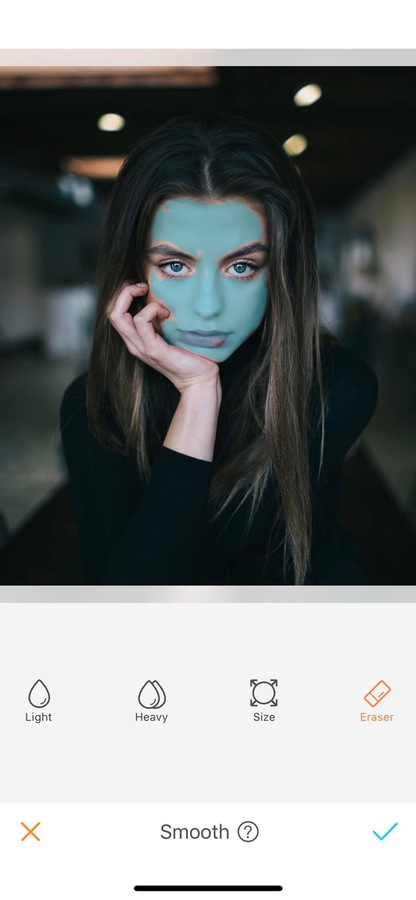
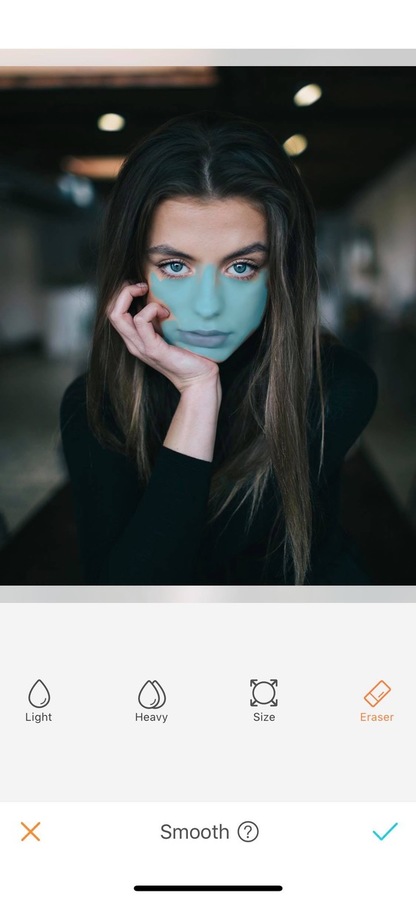
Erase
If you smoothened an area a bit too much, don’t worry, no need to start all over again. On the bottom right of your screen, you’ll find the Eraser option. While selected, the smoothened area will turn blue. You’ll just have to swipe along the areas you want to remove the effect.
If you haven’t tried the Smooth effect yet, head up to the Airbrush app ASAP! & For more insight and pro tips on editing, read our other articles here.


