Airbrush Blog
Tips, trends and tutorials to enhance your online presence and take your editing skills to the next level.
Редактирование фото
View all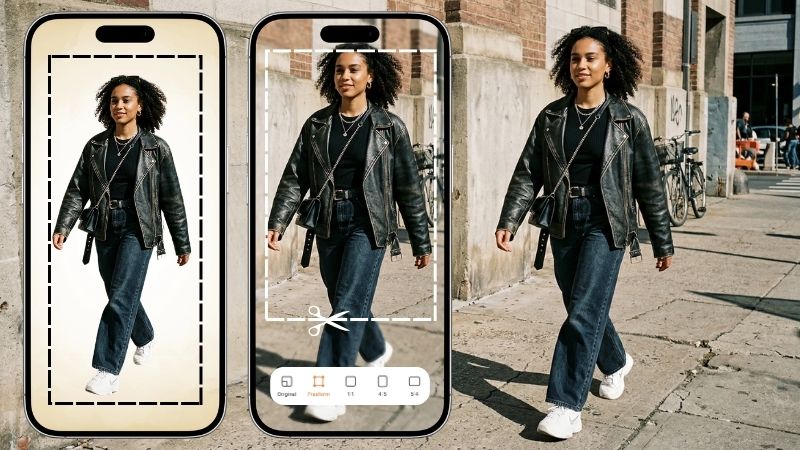
App para Cortar Foto: As 5 Melhores Opções para Editar Imagens
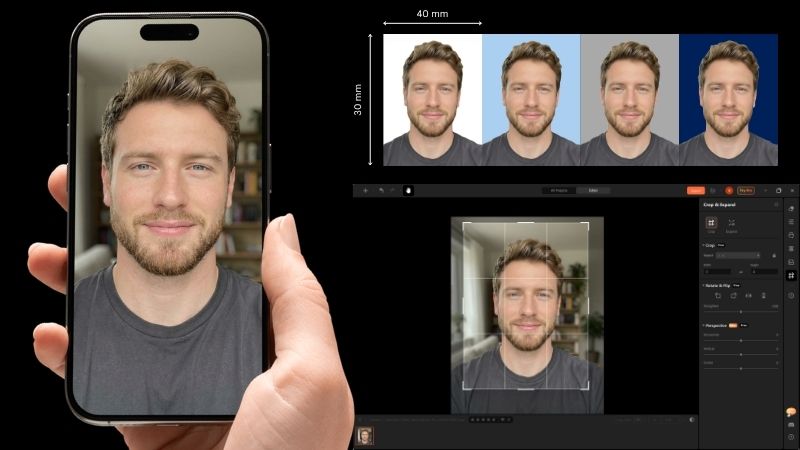
Как сделать фото 3 на 4 на телефоне и ПК | Полное руководство
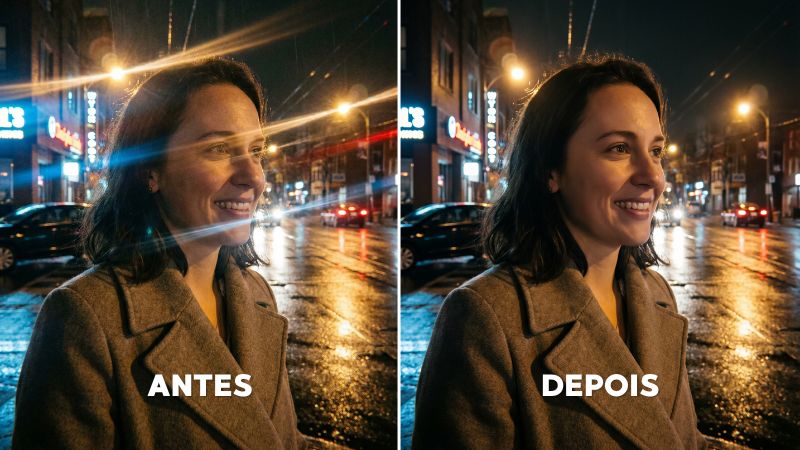
Como tirar reflexo de luz da foto: Guia completo para celular, PC e online

Как сделать размытое фото (пошаговое руководство для любого устройства)
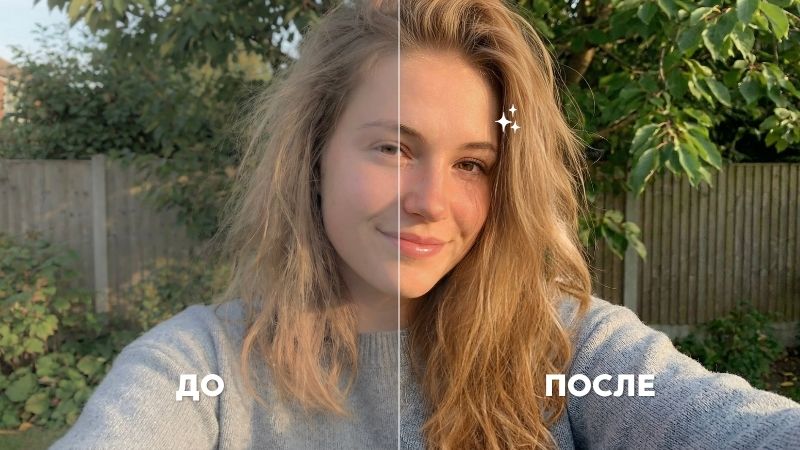
Лучшие способы осветлить фото бесплатно и легко
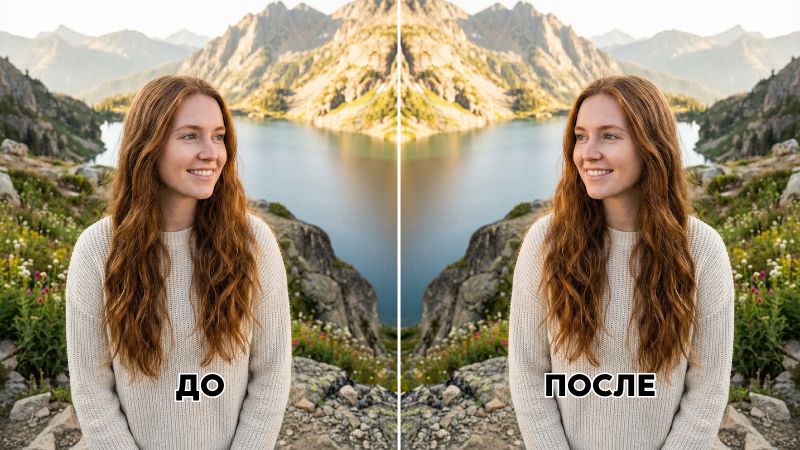
Как отзеркалить фото: подробный гайд для ПК и телефона
Photo Editing
View all
¿Cómo saber qué tipo de cara tengo? Guía Definitiva 2026
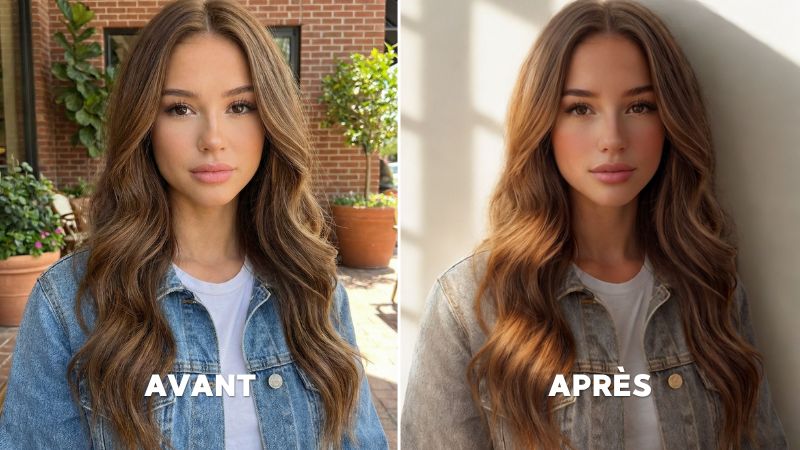
Лучшие приложения для редактирования фото в 2026 году: Топ-13 для iOS и Android
App para Cortar Foto: As 5 Melhores Opções para Editar Imagens
Como tirar sombra de foto facilmente
Slim Face in a Photo with a Desktop Face Slimming App
The Best Face Reshape App in 2026
Édition de photos
View all
Quel est le Meilleur Site pour Créer Son Tatouage Gratuit ? Top 7 de 2026
Transformer photo en manga gratuit : Guide complet pour des images style anime
Top 12 outils pour créer un avatar réaliste gratuit en ligne
Comment changer le fond d’une photo ? App gratuite & outil en ligne
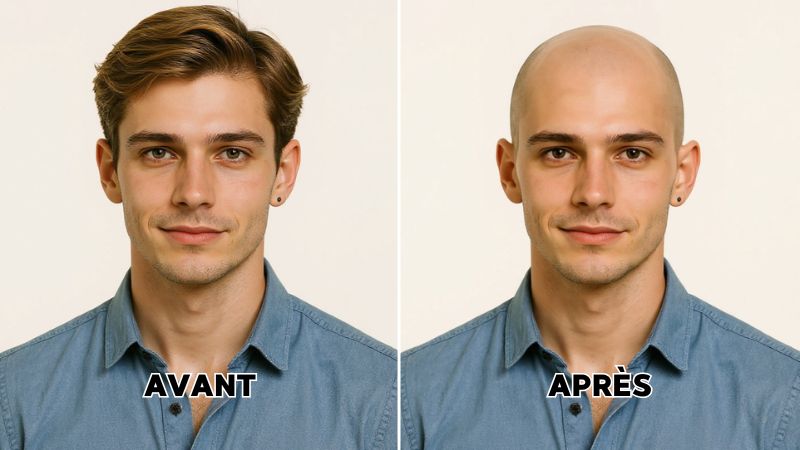
Le filtre chauve : où le trouver et comment l’utiliser
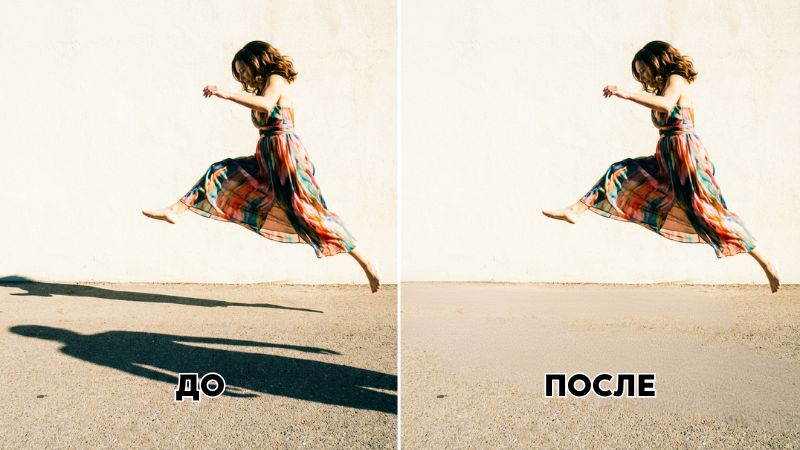
Как убрать тень на фото: 3 простых способа
Fotobearbeitung
View all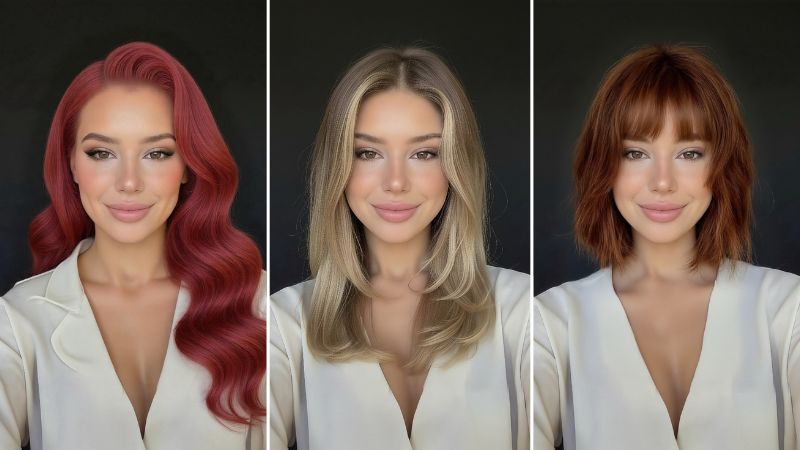
Frisuren online testen ohne App: Die 6 besten Tools
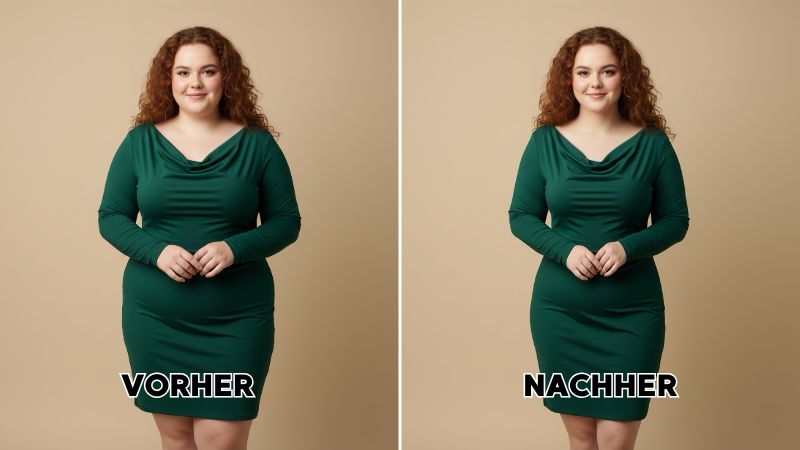
Why Do I Look Fat in Pictures? How to fix it?
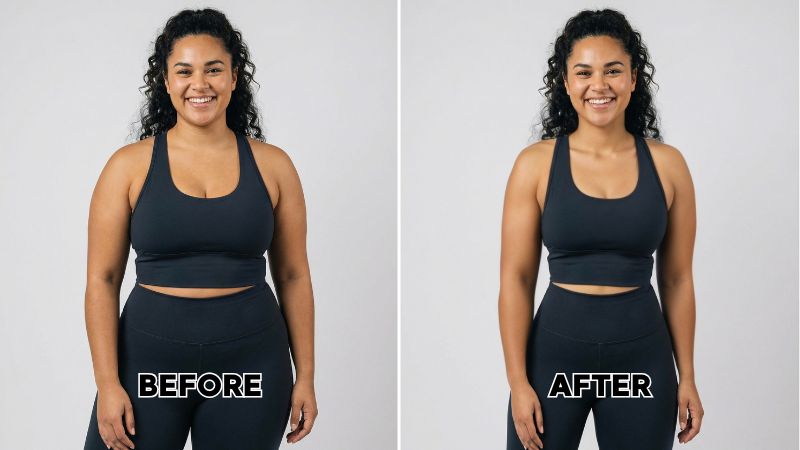
Wie sehe ich mit 10 Kilo weniger aus – Schritt für Schritt Anleitung
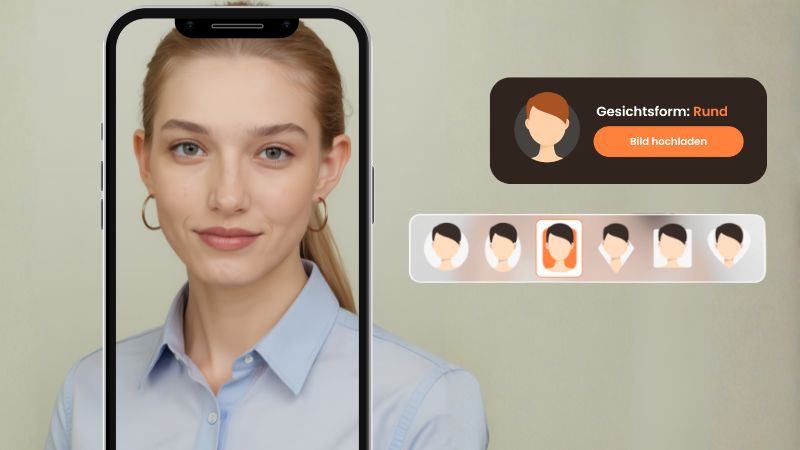
Welche Gesichtsform habe ich? Die 6 häufigsten Formen & beste Tools 2026
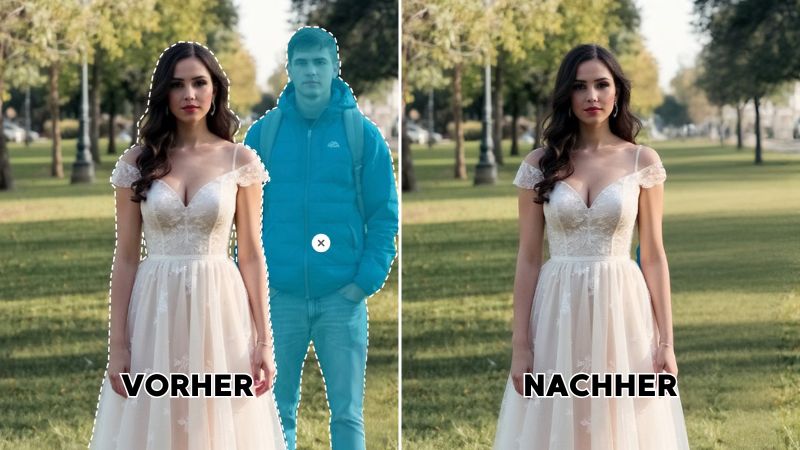
Person aus Bild ausschneiden: Top 8 Tools & Apps 2026
Wasserzeichen-Entfernen-App: Die 6 besten Tools 2026
Edição de fotos
View all
Melhor app para editar fotos grátis em 2026: Top 12 para Android e iOS
Como tirar reflexo de luz da foto: Guia completo para celular, PC e online
Como tirar papada da foto?
Como saber se fico bem de franja: Guia Completo com Teste Virtual Grátis
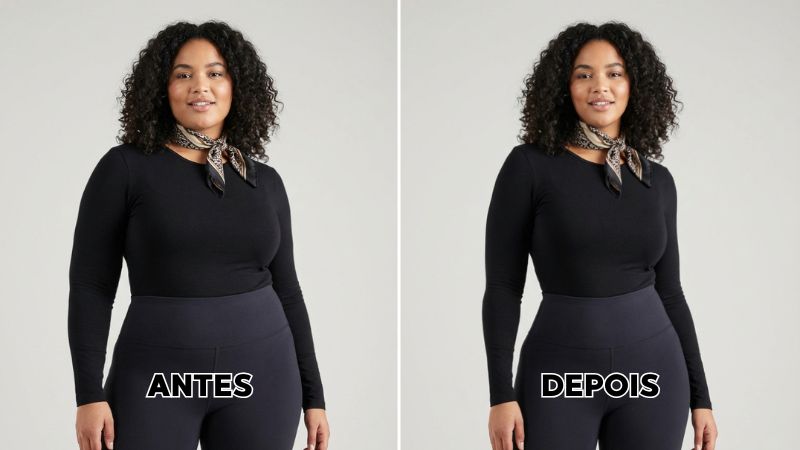
Aplicativo para Emagrecer – Fotos Melhores: 6 Apps Editor de Fotos Imperdíveis
Como tirar sombra de foto facilmente
Edición de fotos
View all¿Cómo saber qué tipo de cara tengo? Guía Definitiva 2026
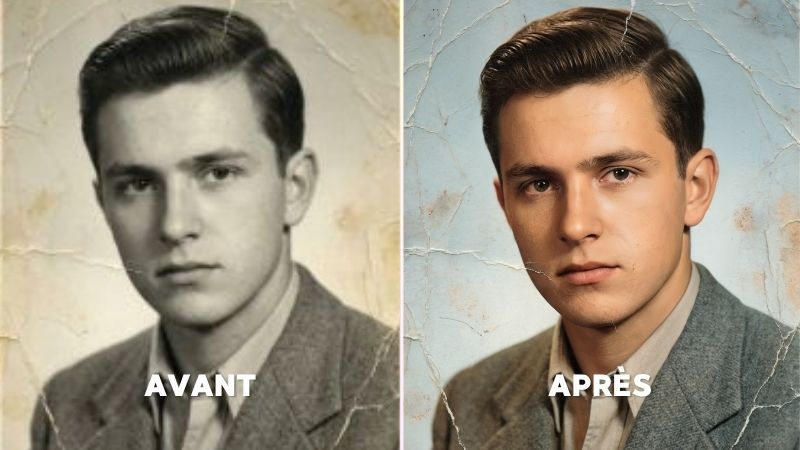
App para restaurar fotos antiguas gratis: Top 10 y un caso real
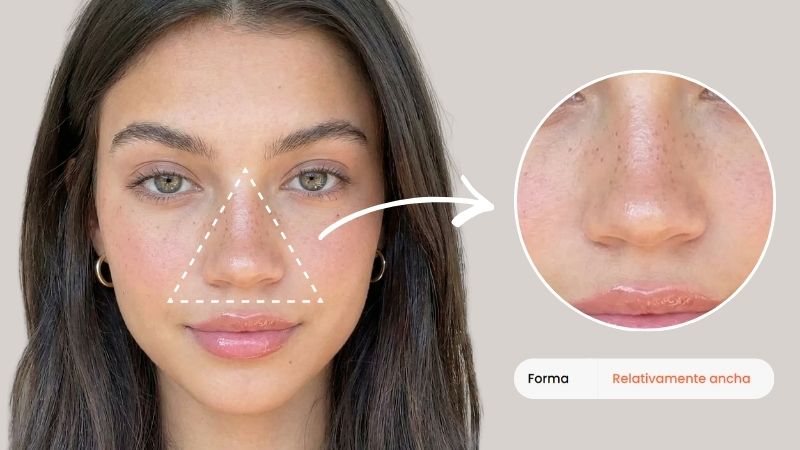
¿Qué tipo de nariz tengo? Guía para identificarla
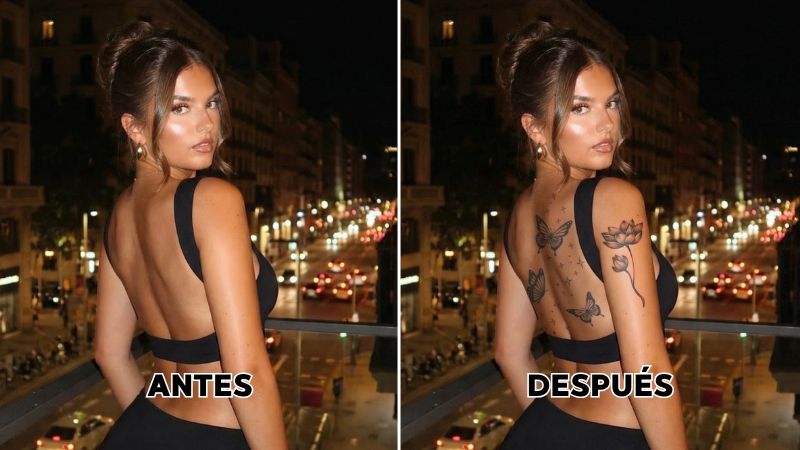
Simulador de tatuajes: las 7 mejores apps y herramientas online
Tutorial completo de la App sonríe: desde IA hasta ajustes manuales
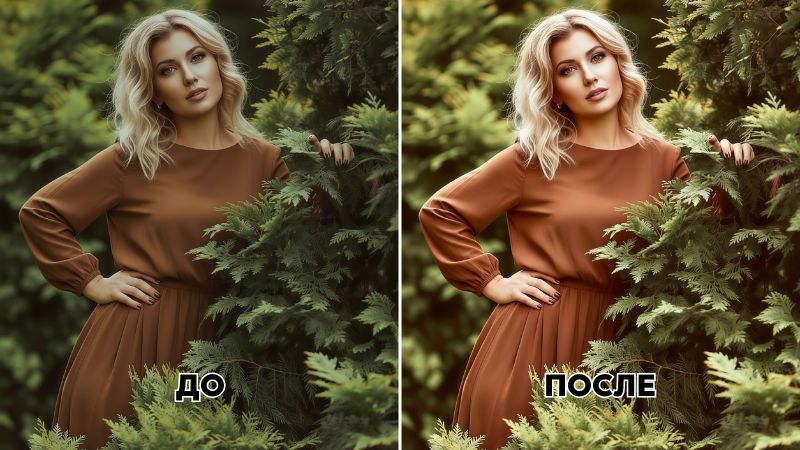
Cómo aclarar una foto oscura fácilmente y mejorar su nitidez
Montage vidéo
View all

Features & Tools
AI Powered RetouchEraserBackground RemoveNo Beard FilterFace EditorAI MakeupPhoto FiltersPhoto Color ChangerAll ToolsDownload
Support
Features & Tools
Download
Support